How to configure a scheduled backup of the PDDB2 database
It is highly recommended that a regular backup of the PDDB2 database is made. This document will describe the process of using a batch file to create a backup and then a Windows Scheduled Tasks to execute this batch file.
Create a folder in which to store the batch file and backup file
For the purposes of this example, we will be using the path C:\Backups\ to store our batch file and backup file. You may choose different folders in which to store the batch file and the resulting backup file. They don’t need to reside in the same folder.
Create a batch file in the folder
Open Notepad and save the file in the folder with the file extension .bat. I.e. when saving, change the Save as type: dropdown to All Files (*.*) and enter the full file name BackupPDDB2.bat.

Edit the text in the batch file
The example below is using the sa user to run the script. It makes the following assumptions:
- The backup file will be stored in C:\Backups\
- The SQL Server instance is a default instance (i.e. no \PD is required)
- The password is ChangeMe123
- The correct path to the sqlcmd.exe application has been added to the PATH environment variable. This is normally automatically done when installing SQL Server.
The text in bold type should be edited to match your parameters as required.
echo off
cls
echo — BACKUP DATABASE —
set DATABASENAME=PDDB2
set BACKUPFILENAME=C:\Backups\%DATABASENAME%.bak
set SERVERNAME=(local)
set USERNAME=sa
set PASSWORD=ChangeMe123
echo.
sqlcmd.exe -U %USERNAME% -P %PASSWORD% -S %SERVERNAME% -d master -Q “BACKUP DATABASE [%DATABASENAME%] TO DISK = N’%BACKUPFILENAME%’ WITH INIT, NOUNLOAD, NAME = N’%DATABASENAME% backup’, NOSKIP, STATS = 10, NOFORMAT”
echo.
The example below shows a script with different assumptions:
- The password for the sa user is unavailable, but the domain account under which the scheduled task will run is part of the sysadmin role. This means the script can be executed using integrated authentication as opposed to SQL authentication in the script above.
- The full path to sqlcmd.exe is included (for SQL 2014) since the PATH environment variable has the paths of previous versions of SQL Server which causes an error when running sqlcmd.exe.
- The SQL Server is using an instance name of PD.
The text in bold type should be edited to match your parameters as required.
echo off
cls
echo — BACKUP DATABASE —
set DATABASENAME=PDDB2
set BACKUPFILENAME=C:\Backups\%DATABASENAME%.bak
set SERVERNAME=(local)\PD
echo.
sqlcmd.exe -E -S %SERVERNAME% -d master -Q “BACKUP DATABASE [%DATABASENAME%] TO DISK = N’%BACKUPFILENAME%’ WITH INIT, NOUNLOAD, NAME = N’%DATABASENAME% backup’, NOSKIP, STATS = 10, NOFORMAT”
echo.
Test the script file by manually executing it
Right click the batch file and choose Run as administrator.
The backup file PDDB2.bak should appear. The process could take a number of minutes to complete.
If it appears that an error may have occurred, you may need to add the pause command at the end of the batch file. This will allow you to view the error details in the command window. In the example below, the password was incorrect using the SQL authentication script:

Once we know that the script works, ensure that the pause command is removed from the end of the script.
Create the scheduled task to execute the script
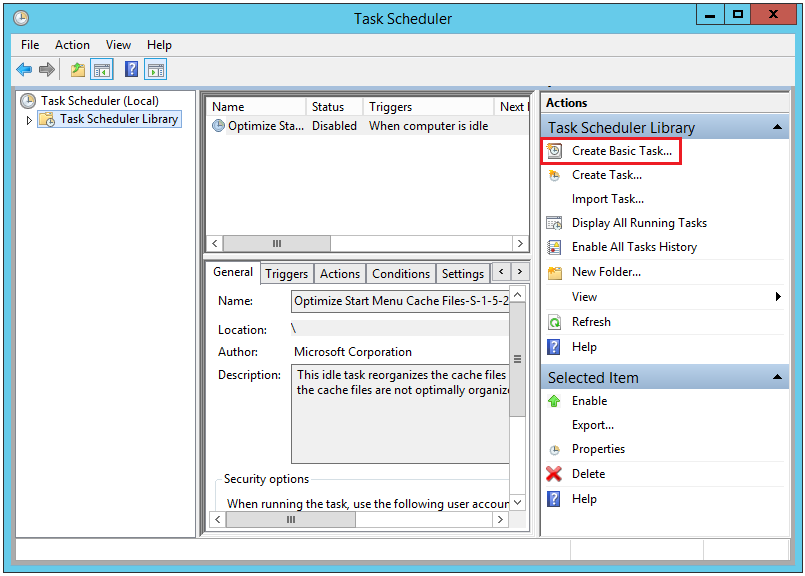
- In the Server Manager, click Tools > Task Scheduler.
- Click Task Scheduler Library.
- On the right click Create Basic Task…
- In the Name textbox, enter PDDB2 backup.

- Click Next.
- Leave the Trigger on Daily (unless you want a different schedule).
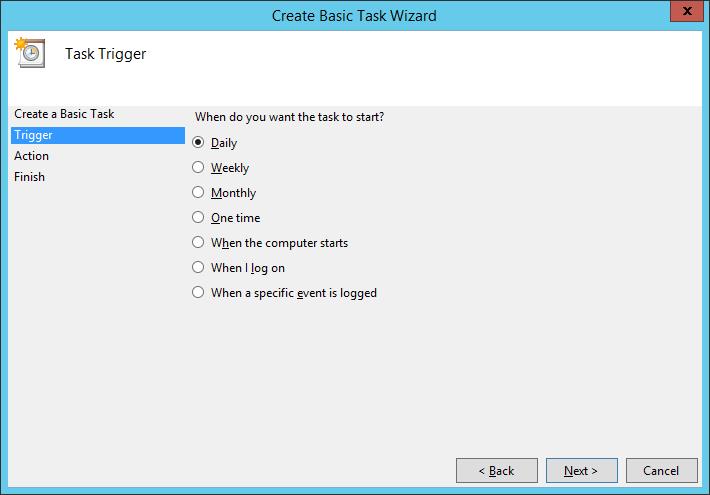
- Click Next.
- Change the start time to a suitable time after hours. The example below is set to 11PM. The backup process may use significant resources if the database is large but the software will still be useable. There won’t be any downtime.

- Click Next.
- Leave the Action option on Start a program.

- Click Next.
- Browse to where the batch file is saved.
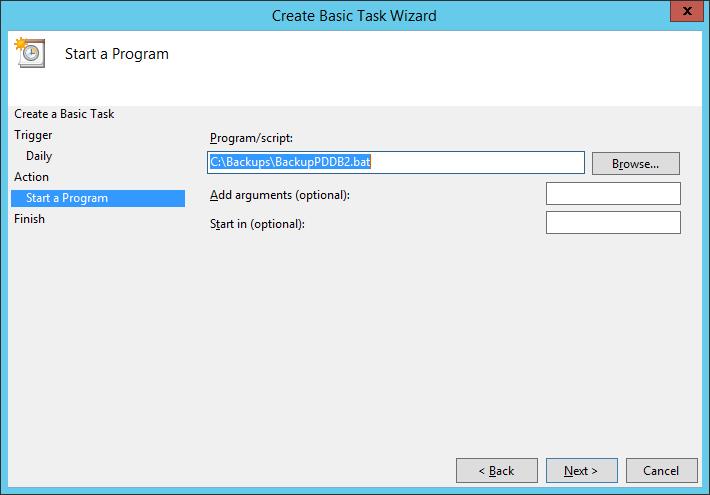
- Click Next.
- In the final Finish step, tick the Open the Properties dialog for this task when I click Finish checkbox.

- Click Finish.
- On the Properties form, in the Security options frame, change the option to Run whether user is logged on or not.
- Tick the Do not store password checkbox as no network access is required.

- Click OK.
Test the scheduled task
First, delete any backup file in the folder that was created from a previous test.
In the Task Scheduler, right click the newly created task and choose Run.

Ensure that the task completes and the backup file appears as expected.
Document revision date: 2024/07/23
Software version: 2.4.12.4
