Configure Mac printer to send to PDAgent LPD Service
Ensure correct driver has been installed on the Mac
Skip to the next section if the driver has already been installed.
Open a browser and go to konicaminolta.com.au/support.

Search for the correct driver and click GO.

Choose the correct Mac OS version. To confirm what this is, click the Apple icon in the top left of the screen and choose About this Mac.
Click the Download button for the latest version of the driver.

Tick Accept Licence agreement and then click the .dmg file to download.

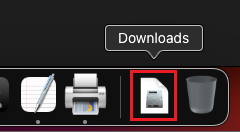
Once the download is complete, move the mouse over the Downloads icon in the task bar and click the downloaded file. This will place it on the desktop.

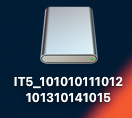
Now go to the desktop and open the new drive that appears there.
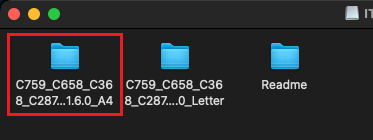
Then open the folder that ends with A4 within that drive:
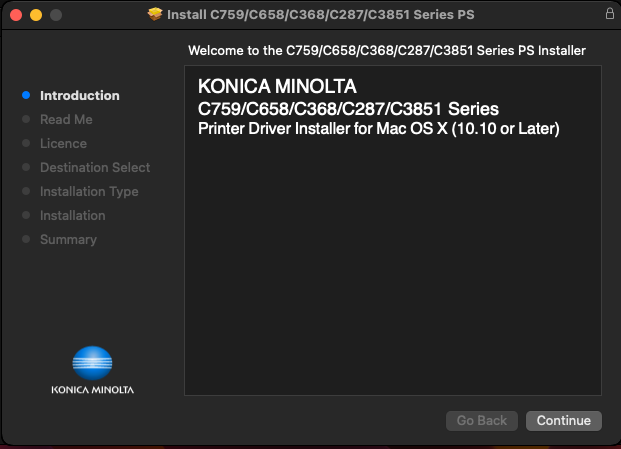
Now double click on the .pkg file.

The installer application will run. Click Continue, continue, Install.
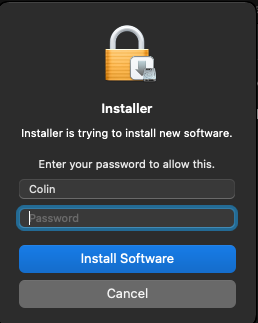
User authentication will pop up. Enter the user’s password and click Install Software.
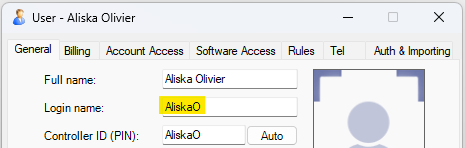
Check user’s Login name
Before we create the printer on the Mac, take note of the user’s Login name. This will be required when we fill out the printer port settings on the Mac.
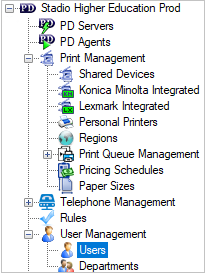
On the server PC, open Resource Manager. Go to User Management > Users. Double click the user on the right. If the user doesn’t exist (i.e. a new user), then create the user.
Take note of the Login name. Example:
Create the printer on the Mac
Now that we have the user’s Login name, and we’ve installed the driver, we can create the printer.
Open System Settings and click Printers & Scanners. Click Add Print, Scanner or Fax to create a new printer.

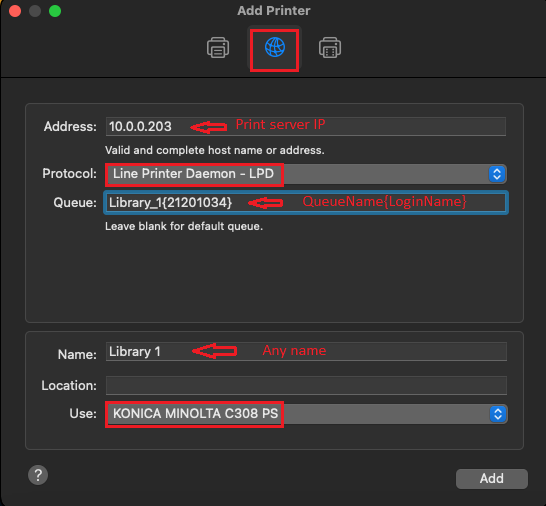
Select the IP option on the top of the Add window.
Enter the IP address of the print server (Example 10.0.0.203) in the Address field. Note this is NOT the IP of the physical printer, it is the computer on which the PDAgent is installed.
Change the Protocol to Line Printer Daemon – LPD.
The Queue field must contain the name of the print queue on the PDAgent server and, optionally, the Login name of the user between curly brackets. The only time we would leave out the Login name is if we’re sure the Mac user account name matches the Login name in Resource Manager (perhaps the Mac is joined to a Windows domain). If this is the case, we only need to put in the print queue name in the Queue field. When entering the print queue name, replace any spaces with underscores. For example, if the print queue on the PDAgent is Library 1, enter Library_1 in the Queue field.
If we’re unsure that the user account name on the Mac matches the Login name in Resource Manager (i.e. the Mac is not joined to a Windows domain), then we must append it in the Queue field between curly brackets. For example, if the Login name is AliskaO and the print queue on the PDAgent is Library 1, enter Library_1{AliskaO} in the Queue field.
Enter something in the Name field (e.g. Library 1).
Click the Use dropdown and choose Select printer software. Then search for the correct Konica Minolta driver.
Click Add.
If a message is shown saying “Unable to communicate with printer at this time” just click Continue.
Just click OK on the Setting up form.

Now try a test print and release.
Document revision date: 2024/08/06
Software version 2.4.12.4
